How To Import A Soundbank Into Reveal Sound's Spire Plugin
How To Import A Soundbank Into Reveal Sound's Spire Plugin
You just got your hands on a big soundbank for Reveal Sound’s Spire plugin (we have some great ones here - *wink wink*) and can’t wait to get started. To help you get into producer mode without too much hassle, here’s a step-by-step guide on how to load up the various presets or soundbank into Spire within your digital audio workstation (DAW).
1. Load Reveal Sound’s Spire plugin onto a MIDI track
Load Spire onto a MIDI track in your DAW. This could be Ableton, FL Studio, Logic Pro or any other DAW that’s able to run Spire. You can usually do this by either dragging the Spire plugin onto the track or selecting it from your plugin list.
2. Access the preset browser
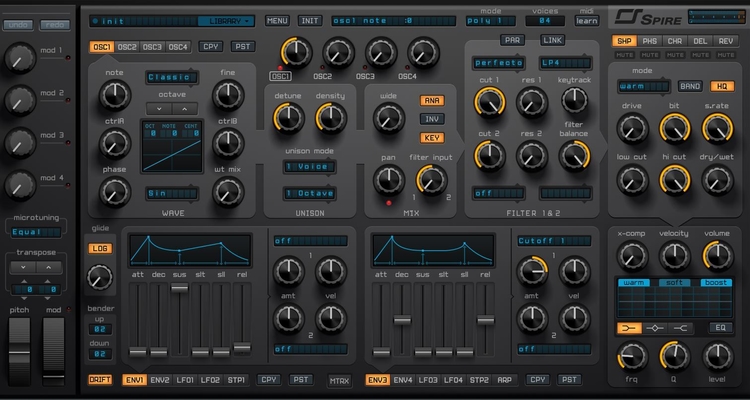
Once Spire is loaded, you should see its interface. Look for the preset browser section. It's usually located in the upper left or right corner of the plugin window. Now click on the menu icon, often represented by three horizontal lines or dots. This should unfold a drop-down menu with various options.
3. Import your file
After opening the preset browser, click user library. Now a button titled “import” will become available. After clicking this, a file browser window will appear. Use this window to navigate to the location on your computer where your sound file is saved. Select the file(s) you want to import and click open. Your soundbank or preset is now imported!
4. Time to make a new track!
After closing the file browser window, you can select your preferred preset and close the preset browser as well. Now your chosen preset is ready to use!
Looking for new high-quality Spire soundbanks?
Armada University offers various preset packs for Reveal Sounds’ Spire plugin, created by some of the best producers in trance music: Allen Watts and ReOrder & MYR. So if you’re in need of some high-quality basses, leads, pads, plucks, sequences and other assorted sounds, check them out by pressing the corresponding images below.